How to Get TikTok Shop API Access for AI Automations and Workflows
Ding Yu
We’ve integrated with a lot of APIs, but nothing comes close to TikTok Shop when it comes to how messy, confusing, and occasionally irritating the API application process is.
After spending countless hours dealing with its system, documentation, and tech support, I finally have a reasonable grasp of how it works. Anyway, here’s the path that actually works.
1. Create a custom app
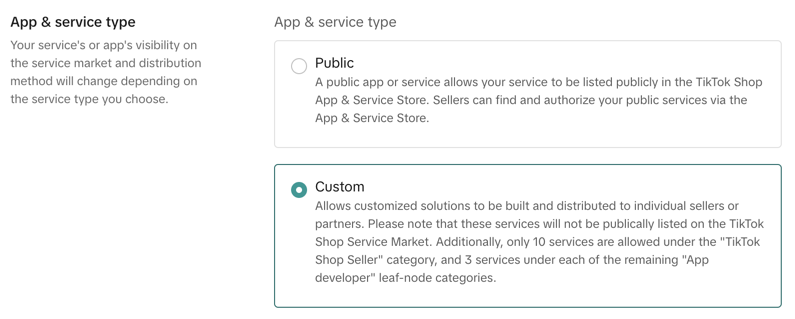
If you are connecting to your own TikTok Shop, choose Custom.
A Public app is for the TikTok Shop Service Market and requires additional reviews.
2. Choose the correct Service category
This is one of the most annoying parts of the TikTok Shop API.
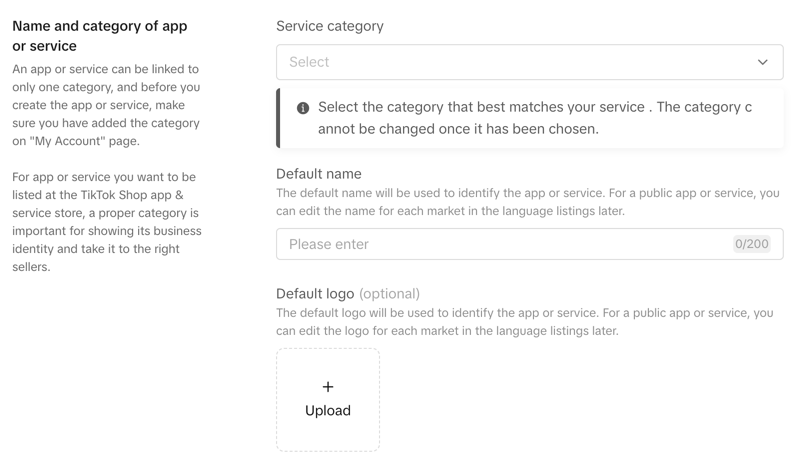
When creating an app, you have to choose a Service category, and the API scopes available to your app are tied to that category.
Chances are you’ll choose what seems like the correct category, only to discover later that the API you need isn’t included. Too bad: you can’t change the Service category after creating the app. Your only option is to create a new app.
Another trap is that not all Service categories are equal. Some are gated behind additional requirements. For example, you can’t use Creator Collaborations unless your monthly GMV is more than $600,000. But there are no hints or eligibility checks in the UI before you choose.
So before choosing a category, read the TikTok Shop API documentation carefully and make sure the APIs you need are actually included. Fortunately, this part of their documentation is fairly comprehensive.
3. Add the App category you need
In the previous step, you may have noticed that you don’t see many Service categories.
That’s because, well, you have to add them first.
You can either click + Add categories in the UI above, or go to Profile and add an App category.
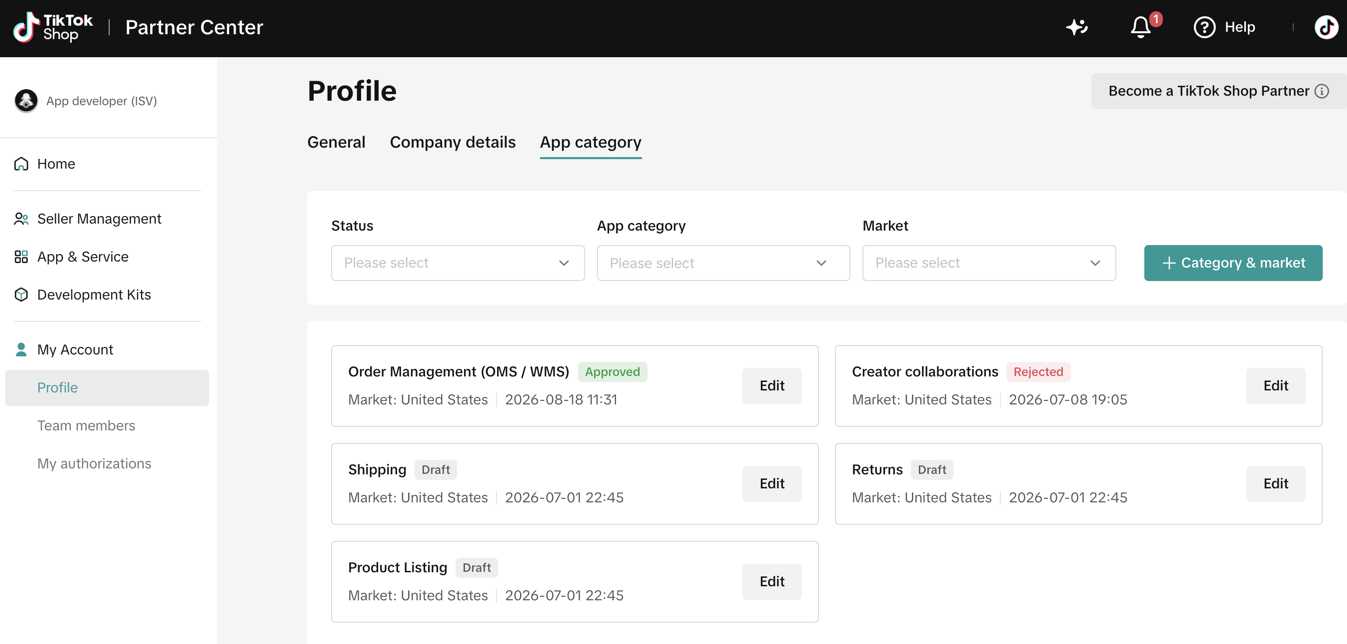
Either way, you’ll arrive at a page asking you to add a Business category.
Yes, TikTok has now called this a Service category, App category, and Business category. As far as I can tell, they’re referring to the same thing.
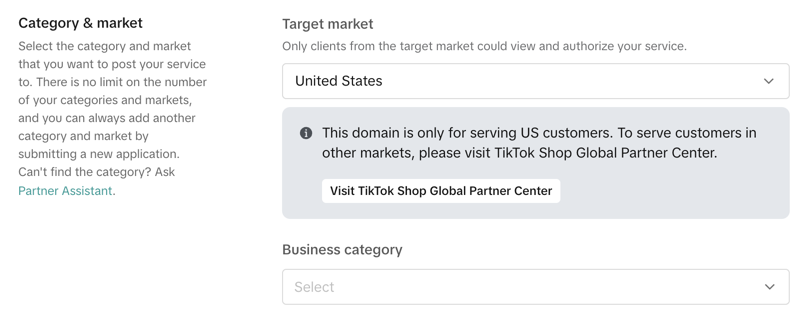
Adding a new category puts you into a human review process. Fill out the forms, but don’t close the browser window yet. Depending on what you want to do with the API, there may be more reviews required.
Let’s submit all of them as soon as possible.
4. Add API scopes
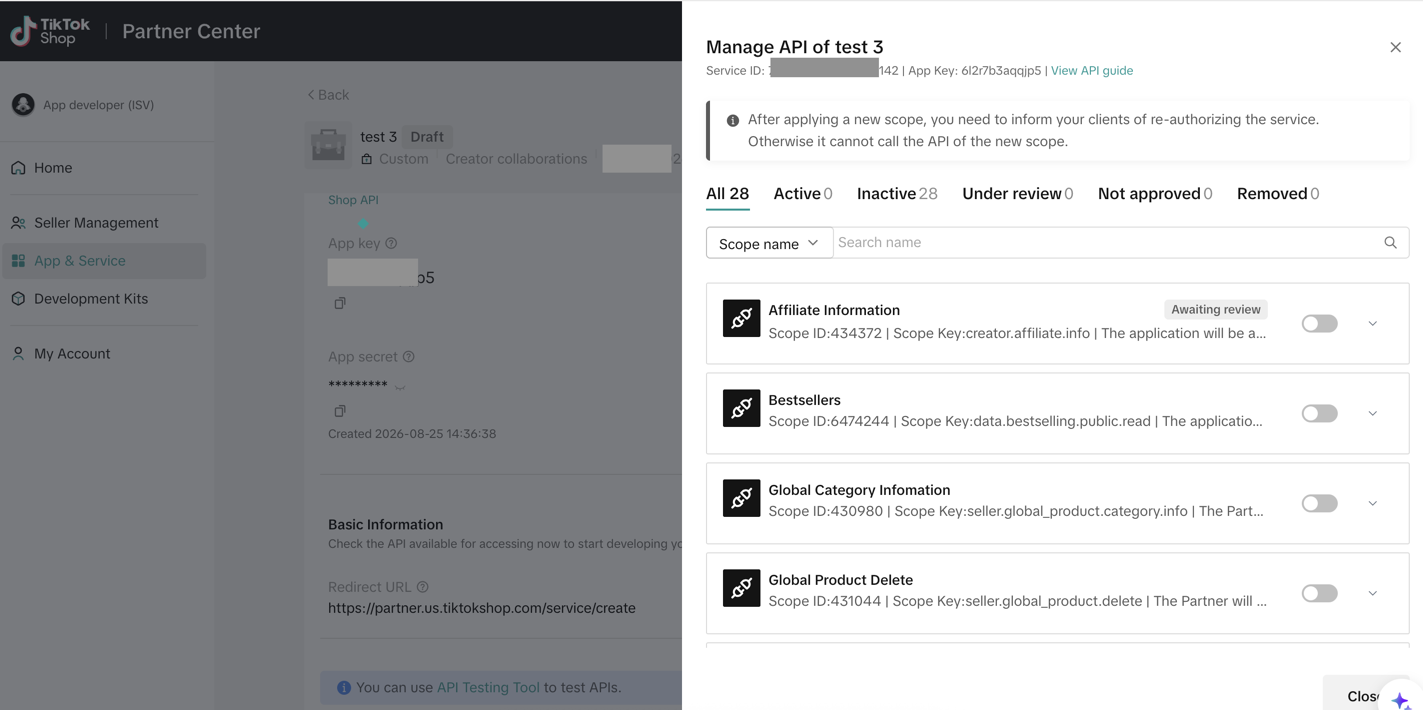
Go to the app you just created, click Manage API, and enable the APIs you need.
You’ll see exactly which APIs require additional review. If you need to submit another review application, now is the time to do it.
5. Find the API credentials
After you’ve passed all the required reviews, you’ll need your API credentials to connect to TikTok Shop:
- Service ID
- App key
- App secret
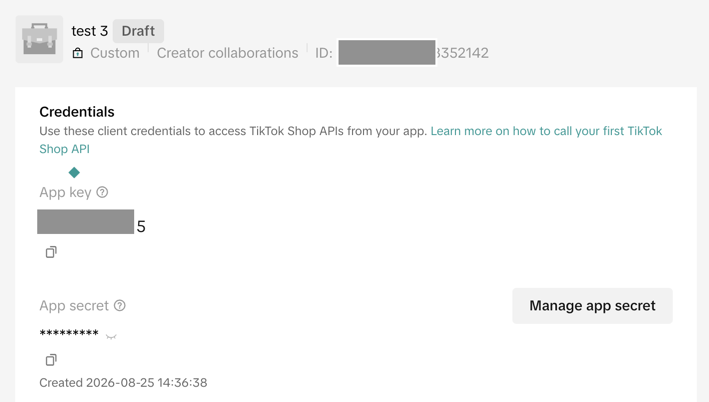
However, if you open the app details page, the Credentials section only lists the App key and App secret.
So where’s the Service ID?
It’s the ID at the top of the page.
6. Create a development shop
You may want to test your automation or workflow with a fake shop instead of your real TikTok Shop.
You can create one under Development Kits → Development Shops.
If you find that you can’t create a development shop and the button is disabled:
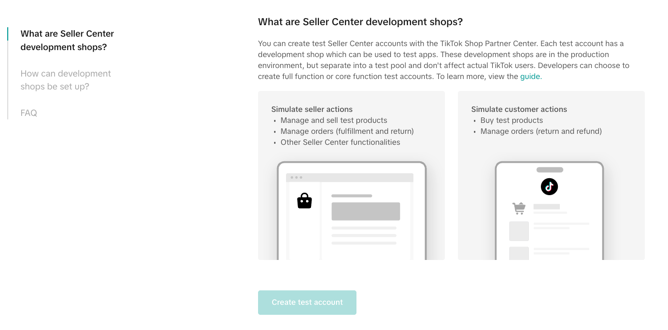
The reason is rather simple: you have to pass the Service/App/Business category review first.
Remember, this is not the app review. The category review and app review are two separate things.
And you don’t need an app review because what you have is a Custom app.
Please don’t get me started on how I managed to learn this.
Wrap up
If you’ve made it through all of this, congratulations: you now have a TikTok Shop app, the API scopes you need, your credentials, and a development shop for testing.
You can finally start building the AI automation or workflow you wanted to build in the first place.
Aqua Blue makes this process slightly easier. Tell it what you want to automate, and it shows you the TikTok Shop API scopes you need. Once TikTok has approved your access, you can create the workflow in Aqua Blue by describing what it should do instead of programming it yourself. TikTok’s application and review process is still yours to complete.